Showing posts with label 3. Show all posts

Tuesday, October 15, 2013

Naima PS3 Custom Firmware 3 55 60 Hybrid Download Available With Full PSN Access!

The Spanish hacker Naima, has successfully released PS3 custom firmware called Naima CFW 3.55 / 60 hybrid. The new custom firmware is a CFW 3.55 with some files taken from the newly 3.60 firmware. More over, it spoofs PS3 console on 3.60 firmware which allows full PSN access for games and applications with preserving jailbreak capabilities of custom firmware 3.55.


Click here to enlarge
Note: Its highly recommended to avoid accessing PSN on your jailbroken PS3 in order to avoid possible bans from Sony.

Download 3.55-60CFW-naima.patch then apply it to official firmware 3.55
Read More..

Friday, October 11, 2013

Ultrasn0w 1 2 3 to unlock 4 3 3 iPhone 4 3GS

Ultrasn0w 1.2.3. iPhone dev-team has released new version of ultrasn0w, they released ultrasn0w 1.2.3 to unlock iPhone 4 and iPhone 3GS on iOS 4.3.3 on old basebands. check out all supported basebands on ultrasn0w 1.2.3 after the jump


Supported basebands:
01.59.00 / 04.26.08 / 05.11.07 / 05.12.01 / 05.13.04 / 06.15.00

Unsupported basebands :
02.10.04 / 03.10.01 / 04.10.01 / 05.14.02 / 05.15.04 / 05.16.02


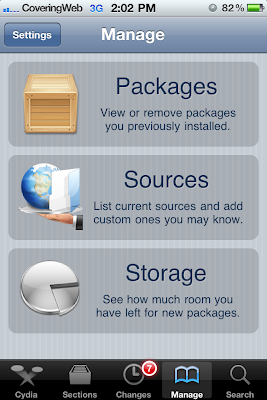
Step 1: Open Cydia on your iPhone 4 or 3GS, Go to Manage->Sources


Click here to enlarge


Step 2: Now tap on “Edit”, then tap on “Add”
Enter the following repo http://repo666.ultrasn0w.com then tap on "Add Source" as shown below.

Click here to enlarge

Step 3: Now search for ultrasn0w 1.2.3 then install it. By installing ultrasn0w 1.2.3, your device became unlocked

Click here to enlarge

Step 4: Finally, restart your iPhone and you should now enjoy an unlocked iPhone 4 or 3GS on iOS 4.3.3.
Read More..

Monday, October 7, 2013

With TinyUmbrella 04 32 00 Save 4 3 2 4 2 7 SHSH for iPhone iPod Touch iPad

TinyUmbrella, has pushed a new update from TinyUmbrella to version 4.32.00 to allow you to save iOS 4.3.2 on iPhone 4, 3GS, iPod touch 4G, 3G and iPad, also TinyUmbrella 4.32.00 allows you to save SHSH for Verizon iPhone 4 running iOS 4.2.7.
Click here to enlarge
As a reminder, to save your SHSH blobs, simply connect your iDevice via USB to your computer, launch TinyUmbrella, and click the “Save SHSH” button.

Download TinyUmbrella 4.32.00 for Mac
Download TinyUmbrella 4.32.00 for Windows
Read More..

Sunday, October 6, 2013

How To Unlock iPhone 4 3GS on iOS 4 3 1 with Ultrasn0w 1 2 1 Guide

iPhone Dev-Team has released ultrasn0w 1.2.1 unlock to support iOS 4.3.1 unlock on old basebands and to fix signal issues which reported by some users after jailbreaking iPhone 4, 3GS on iOS 4.3.1
We’ve pushed out the 4.3.1 compatibility fix for ultrasn0w in Cydia — it’s now at version 1.2.1. If you’re not already at 4.3.1 and you need the unlock, please be sure you understand how to get to 4.3.1 using a custom IPSW that doesn’t update your baseband.

This isn’t a new unlock! It’s to allow those who are already unlocked to use FW 4.3.1. It also fixes the signal bar issue for those who aren’t using the unlock but retain an older baseband intentionally.

AFTER INSTALLING ULTRASN0W 1.2.1, PLEASE REBOOT YOUR iPHONE using the normal “slide to power off” swipe. T-Mobile users in the USA also should disable 3G mode in Settings->General->Network.


ONLY
Supported basebands: (01.59.00 / 04.26.08 / 05.11.07 / 05.12.01 / 05.13.04 / 06.15.00)
iPhone 3GS preparation for unlock: you have to jailbreak and update your iPhone 3GS to 6.15.00 baseband on iOS 4.1 / 4.2.1

Step 1: You have to jailbreak your iPhone 4 / 3GS on iOS 4.3.1 with preserving your old baseband,

Step 2: Once you jailbreak yoour device, you can now unlock your iPhone 4 / 3GS with Ultrasn0w 1.2.1 from Cydia. To do so, follow the steps below:
  • Press to launch Cydia Installer from your SpringBoard.
  • Press to select the Manage tab at the bottom of the screen.
  • Press to select the Sources button.

Click here to enlarge
  • Now touch on Edit and then on Add. You will be prompted to enter the URL of the source. Type http://repo666.ultrasn0w.com and touch on Add Source to add this repository.
Click here to enlarge

Cydia will now automatically update your sources by following a series of automated steps.
  • After installation is completed. Search for “ultrasn0w 1.2.1” in Cydia and install this application. This app will automatically unlock your iPhone so that you can use it with any carrier.
Click here to enlarge

Step 3: Almost done, now simply reboot your iPhone and you should have a fully unlocked iPhone 3GS / 4 on iOS 4.3.1.
Read More..

Friday, October 4, 2013

Downgrade iOS 5 GM To iOS 4 3 5 On iPhone iPad iPod Touch

Yesterday was a big day starting from the iPhone 4S to the recently released iOS 5 GM for developers. Since iOS 5 GM is installable by everyone, you may have updated to iOS 5 by now. In case you didn’t like the tethered jailbreak, found a few problems on your iOS device or discovered some apps that were not supported, that you desperately needed… you’re in luck: you can downgrade iOS 5 to iOS 4.3.3, iOS 4.3.5 or older.


Click here to enlarge
Before you downgrade, please remember you can only downgrade your iDevice firmware if, and only if, you have saved your SHSH blobs somewhere safely, hopefully with Saurik’s Cydia server, or locally on your machine.
From now on, I will assume you have saved your blobs on Saurik’s Cydia server.

STEP 1: To start with, you need to make sure you have a copy of iOS 4.3.5 or whatever firmware you need to downgrade for your device which you can find and download from here.
STEP 2: Next, you need to make sure your hosts file is pointing to Saurik’s server, and not Apple’s. If you haven’t done this then please check this guide.

Alternatively, use TinyUmbrella to make iTunes look at Cydia’s Server in the Advanced options.


Click here to enlarge

STEP 3:
Now plug in your iOS device, and switch it off, but leave it plugged in.

STEP 4: Put your device into DFU mode, our guide here.

STEP 5: Select your firmware manually to restore to. (Shift on Windows, and option on a Mac)
Click here to enlarge

It says that it will talk to Apple when really, it is talking to the Cydia servers.

Click here to enlargeHey presto! Your device should now have downgraded without a hitch…
But, should your phone should now have an error, such as error 1015, DO NOT PANIC! This is normal and has a quick fix. Just download anduse Recboot to kick it out of recovery mode –
Click here to enlarge
Apple has just released iOS 4.3.5 ipsw firmware for iPhone 4, 3GS, iPod touch 4G, 3G, iPad 2, 1 and Apple TV 2G. As most of you know that iOS 4.3.4 was released on July 15. iOS 4.3.5 firmware come to fix a security vulnerability with certificate validation.


Click here to enlarge
Download iOS 4.3.5 firmware IPSW files (Direct Links) - Official from Apple:
Read More..

Thursday, October 3, 2013

Sn0wbreeze 2 3b1 Brings iOS 4 3 Tethered Jailbreak Stock Update With Baseband Preservation And Fast Tethered Boot Tool

sn0wbreeze 2.3b1 1 Sn0wbreeze 2.3b1 Brings iOS 4.3 Tethered Jailbreak, Stock Update With Baseband Preservation And Fast Tethered Boot Tool
Just a quick heads-up: iH8sn0w pushed a new update to sn0wbreeze which brings the software to v2.3b1. The new updated comes with a lot of *good stuff* such as a tethered jailbreak for iOS 4.3, stock update to iOS 4.3 with baseband preservation, and a real fast tethered boot tool.
You need:
  • iOS device ( iPhone 3Gs/4, iPad 1st gen, iPod Touch 3G/4G )
  • iOS 4.3
  • sn0wbreeze 2.3b1
How to:
1. Even if there are a couple of new features in this release, the functionality of the tool remains the same. Just follow this sn0wbreeze tutorial and you should be good. The only thing you need to pay attention to, when creating a custom iOS 4.3 ipsw, is step 6 of the tutorial. iH8sn0w added a new option which allows you to update your iOS device to a stock iOS 4.3 while preserving your baseband.
sn0wbreeze 2.3b1 6 Sn0wbreeze 2.3b1 Brings iOS 4.3 Tethered Jailbreak, Stock Update With Baseband Preservation And Fast Tethered Boot Tool
Other than that, the process is exactly the same. Just create your custom ipsw, and shift+restore your iOS device.
2. To boot into the tethered kernel, you need to use iBooty which is included with this release of sn0wbreeze. You will notice a new iBooty icon on your desktop. Just open it, select your device, and run it. Can’t get any easier than this.
iBooty Sn0wbreeze 2.3b1 Brings iOS 4.3 Tethered Jailbreak, Stock Update With Baseband Preservation And Fast Tethered Boot Tool

HOW TO: Use Sn0wbreeze To Untethered Jailbreak iOS 4.2.1 [video]

HOW TO: Use Sn0wbreeze To Untethered Jailbreak iOS 4.2.1 [video]

sn0wbreeze 51 HOW TO: Use Sn0wbreeze To Untethered Jailbreak iOS 4.2.1 [video]
A new version of sn0wbreeze was released, which is able to untether jailbreak iOS 4.2.1. This tool allows you to create a custom firmware, and in this tutorial we’re going to show you exactly how to use it.

Snowbreeze is compatible with:
  • iPhone 3G/3GS/4
  • iPod Touch 2G/3G/4
  • iPad
How To:
1. Download Sn0wbreeze
2. Download stock iOS 4.2.1
NOTE: Windows Vista/Win7 users , you will need to run the toll in Administrator mode. To do that, right click on the tool’s icon and select ‘Run as administrator’…
3. Connect your iOS device
4. Open Snowbreeze and you will see a splash screen which tells you that this software is not for commercial use. Click OK ( see splash screen above ). On the next screen just click on the blue arrow to continue…
5. Now you will need to choose the stock iOS 4.2.1 downloaded earlier. Click on ‘Browse’, select it and click ‘Open’…

sn0wbreeze 3 HOW TO: Use Sn0wbreeze To Untethered Jailbreak iOS 4.2.1 [video]

6. Choose ‘Expert Mode’ and click on the blue arrow to continue…

sn0wbreeze 2 HOW TO: Use Sn0wbreeze To Untethered Jailbreak iOS 4.2.1 [video]

7. Now we need to customize our firmware. Just click on ‘General’ and then, click on the blue arrow to continue…
8. Here you can add:
  • animated bootlogos
  • choose to install openSSH
  • resize the root partition
  • add native backgrounding, user wallpaper, battery percentage etc
sn0wbreeze 1 HOW TO: Use Sn0wbreeze To Untethered Jailbreak iOS 4.2.1 [video]
9. Once you are done, click on the blue arrow to continue. Now sn0wbreeze will create the custom firmware
10. Now, you will need to put the device in DFU mode. Follow the instructions on the screen.
15. Open iTunes. It will prompt you with a message that it found a device in recovery mode. Click OK…
16. Hold down the Shift key and click on restore. Choose the custom firmware you just created and click open. MAKE SURE it’s the custom firmware and not the stock one… ( you will recognize the custom one because it’s called ‘sn0wbreeze_iPhone_xxx’ )
17. Wait for iTunes to restore your iOS device with the custom firmware.
18. That’s it. Enjoy
NOTE: sn0wbreeze may fail. If it does, visit ih8sn0w’s website and check if there is an updated version available

Read More..

Wednesday, October 2, 2013

Sn0wbreeze Updated To v2 6 With iOS 4 3 2 Untethered Support

snowbreeze Sn0wbreeze Updated To v2.6 With iOS 4.3.2 Untethered Support
Just a quick heads-up: sn0wbreeze was updated with support for untethered iOS 4.3.2 jailbreak. This update allows us to create a custom .ipsw on Windows machines and untethered jailbreak iOS 4.3.2.

Supported device:
  • iPhone 3G[S]/4
  • iPod Touch 3G/4
  • iPad 1G
  • Apple TV 2
You can download sn0wbreeze v2.6 here . If you you don’t know how to use sn0wbreeze,
Read More..

Tuesday, October 1, 2013

How to Use Sn0wbreeze To Untethered Jailbreak iOS 4 3 3 And 4 2 8 Windows

Click here to enlarge


A new version of sn0wbreeze was released, which is able to untethered jailbreak iOS 4.2.3 and iOS 4.2.8 for Verizon iPhone 4. This tool allows you to create a custom firmware, and in this tutorial we’re going to show you exactly how to use it.

Compatibility:
  • iPhone 3G[S]/4/Verizon 4
  • iPod Touch 3G/4
  • iPad 1
  • Apple TV 2
How To:
NOTE: the below tutorial uses screenshots from our previous sn0wbreeze tutorial. Don’t worry about it, the necessary adjustments have been made and the process is exactly the same.


1. Download
Hotfile.com: One click file hosting: sn0wbreeze-v2.7r2.zip
NOTE: Windows Vista/Win7 users , you will need to run the toll in Administrator mode. To do that, right click on the tool’s icon and select ‘Run as administrator’…

3. Connect your iOS device

4. Open Snowbreeze and you will see a splash screen which tells you that this software is not for commercial use. Click OK ( see splash screen above ). On the next screen just click on the blue arrow to continue…

5. Now you will need to choose the stock iOS 4.3.3 downloaded earlier. Click on ‘Browse’, select it and click ‘Open’…


Click here to enlarge

6. Choose ‘Expert Mode’ and click on the blue arrow to continue…

Click here to enlarge

7. Now we need to customize our firmware. Just click on ‘General’ and then, click on the blue arrow to continue…
8. Here you can add:
  • animated bootlogos
  • choose to install openSSH
  • resize the root partition
  • add native backgrounding, user wallpaper, battery percentage etc

Click here to enlarge

9. Once you are done, click on the blue arrow to continue. Now sn0wbreeze will create the custom firmware

10. Now, you will need to put the device in DFU mode. Follow the instructions on the screen.

Click here to enlarge

11. Open iTunes. It will prompt you with a message that it found a device in recovery mode. Click OK…

Click here to enlarge

12. Hold down the Shift key and click on restore. Choose the custom firmware you just created and click open. MAKE SURE it’s the custom firmware and not the stock one… ( you will recognize the custom one because it’s called ‘sn0wbreeze_iPhone_xxx’ )

13. Wait for iTunes to restore your iOS device with the custom firmware.

14. That’s it. Enjoy
Read More..

Monday, September 30, 2013

How to Jailbreak Apple TV 2G Untethered on iOS 4 3 1 using Seas0nPass

Pre-launch checklist
  1. Make sure youre running the latest version of iTunes.
  2. Download Seas0nPass: Mac [10.6 or later] | Windows [XP or later]
  3. micro USB cable will be required to complete the jailbreak.
  4. Disconnect all iPods, iPhones, and iPads from the computer before running Seas0nPass.

Step 1: Unzip the Seas0nPass.zip file and launch Seas0nPass.
SP-launch.jpg
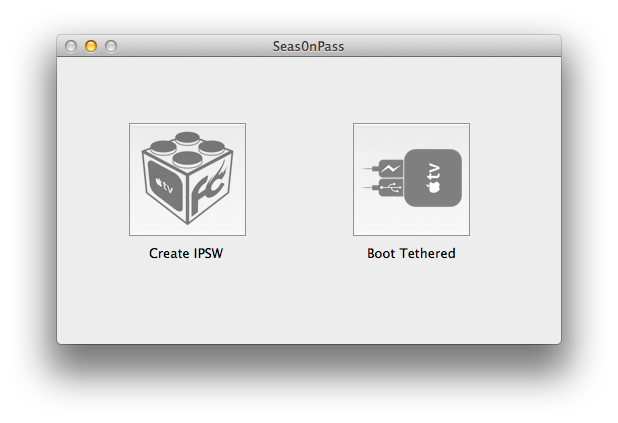
Step 2: If your AppleTV is not yet jailbroken, select Create IPSW. (if already jailbroken, and you just need to do a tethered boot scroll down).
SP-main.jpg
Step 3: The latest AppleTV software will be downloaded and used to create a custom jailbroken software file.
SP-create.jpg
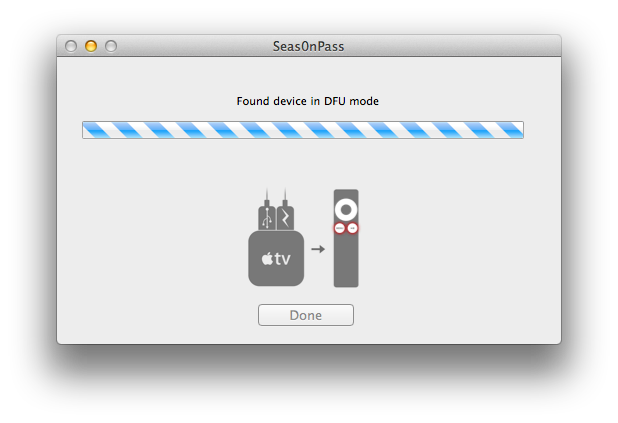
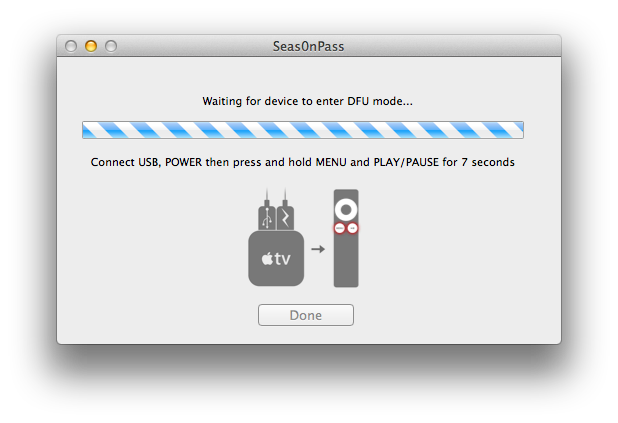
Step 4: When prompted, connect your AppleTV using a micro-USB cable (leave power disconnected), and hold both the MENU and PLAY/PAUSE buttons for 7 seven seconds.
SP-restore.jpg
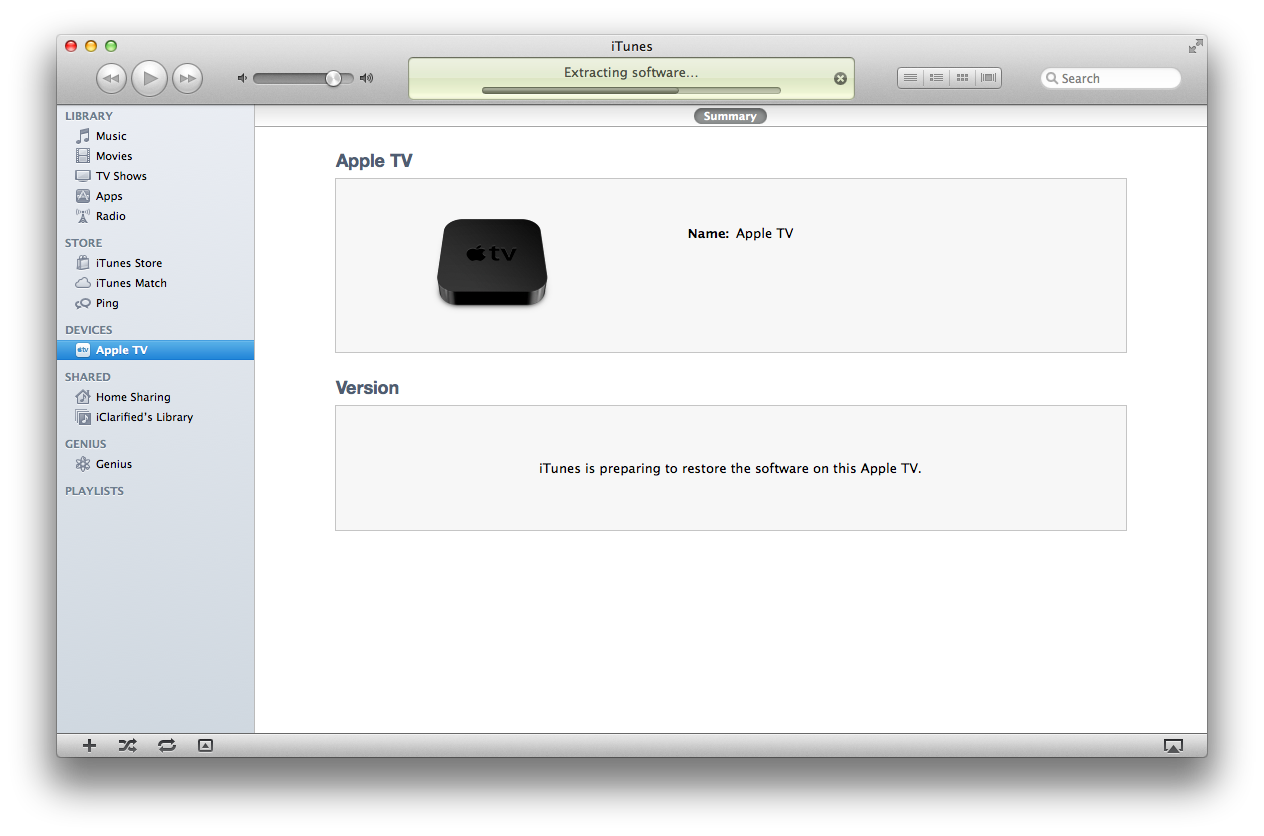
Step 5: iTunes will open automatically and start the restore process.
 SP-itunes.jpg
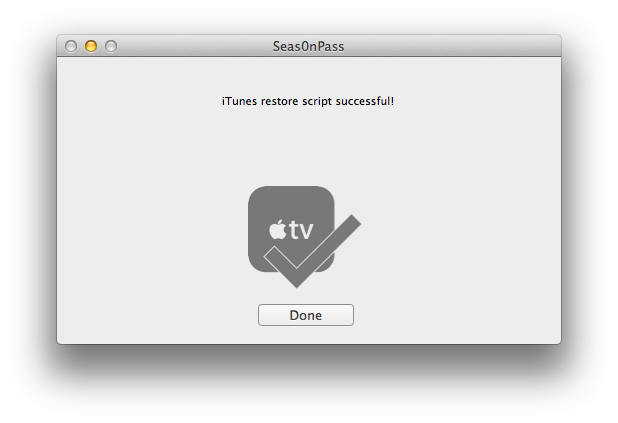
Step 6: iTunes will confirm the restore when complete - your AppleTV is now jailbroken. Please proceed to the tethered boot section below.

Using Seas0nPass for a tethered boot

Some AppleTV software versions require a tethered boot. This means the AppleTV must be connected to a computer for a brief moment during startup.
Note: The AppleTV MUST be disconnected from the computer (for at least a brief moment) after restoring in iTunes for the tethered boot process below to work properly.
Step 1: Open Seas0nPass and select the Boot Tethered option.
SP-main.jpg
Step 2: When prompted, connect the AppleTV to your computer via USB. Wait for the rapid flashing light then connect the power. Once both are connected hold both the MENU and PLAY/PAUSE buttons for 7 seven seconds.
SP-tetherprompt.jpg
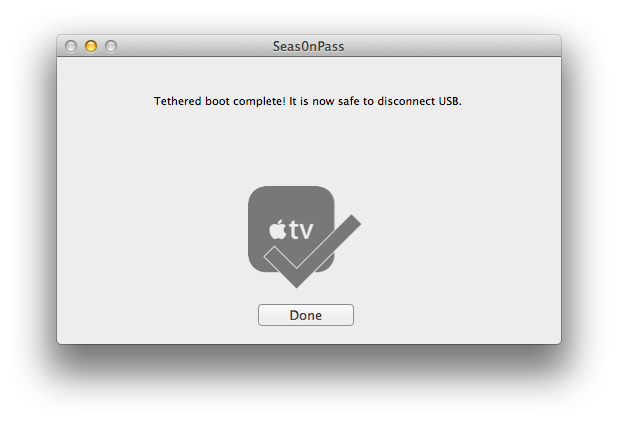
Step 3: Seas0n Pass will complete the tethered boot automatically. Once complete, remove the USB cable and connect the HDMI cable.
Note: Timing is key. Once the you receive the success message shown below, the USB cable should be removed and HDMI cable connected before the light on the front of the AppleTV stops flashing. (Dont worry there is ample to do this, so you dont need Superman speed).
Read More..

Sunday, September 29, 2013

F0recast 1 3 Update Released To Check Jailbreak State Of iOS Device

you dont know whether or not your device can be jailbroken or your iPhone is able to be unlocked or not, f0recast is the tool for you. Its specially for those who are new to the jailbreaking scene. Good news is that the developer, iH8sn0w has updated f0recast to version 1.3 and it now supports the current jailbreak state.


Click here to enlarge

F0recast will display the serial number of your iPhone, iPad or iPod touch, the baseband version if youre using an iPhone or 3G iPad, model number of both MC and non-MC devices and the bootloader version. It will also show whether or not your device can be jailbroken or unlocked, and which tools to use for that purpose. To use f0recast, simply connect your device to the computer and run f0recast. It will do all of the rest on its own. F0recast 1.3 is now available for both Mac and PC machines.
Download f0recast 1.3 for Windows
Download f0recast 1.3 for Mac
Read More..

Friday, September 27, 2013

TinyUmbrella Updated To v5 00 05 With iOS 4 3 4 Support


Just a quick heads-up: notcom updated TinyUmbrella to v5.00.05 with support for iOS 4.3.4 . Yesterday, Apple has finally come out with their ‘fix’ for the pdf vulnerability that JailbreakMe 3.0 uses to jailbreak devices. In proper good form, comex has released a much better* fix for the vulnerability which also incidentally allows you to stay jailbroken.

Download TinyUmbrella for Mac and Windows here
Read More..

Sunday, September 22, 2013

Installous 4 3 for iOS 4 3 Released !

Installous 4.3 now available, Installous 4.3 bringing support for iOS 4.3. It lets you install cracked apps on iOS 4.3 by downloading .IPAs of the apps and install it directly to your iOS device. Once you install it, youll be able to download and install cracked apps (.IPA) files directly on your iOS 4.3.

Whats new in Installous 4.3:
- Fixed native installation bug
- UI improvments
- Localization support (German translation)
- Performance enhancements
Your device must be jailbroken on iOS 4.3 so you can add http://cydia.hackulo.us as a source then search for Installous 4.3 and install it.
Read More..

Tuesday, September 17, 2013

Jailbreak Your Apple TV 2G Using Seas0nPass Mac 4 4 3


These are instructions on how to jailbreak your Apple TV 2G on iOS 4.4.3 using Seas0nPass. Please note this a tethered jailbreak and will require the help of a computer to reboot your device if its powered off.

Step One
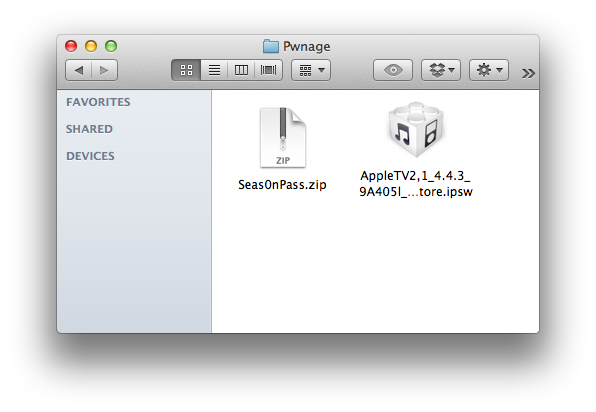
Create a Pwnage folder on your desktop. Download and place the latest version of Seas0nPass and the Apple TV 4.4.3 firmware ipsw into the folder.
- Seas0nPass
- Apple TV Firmware


Step Two
Double click the Seas0nPass archive to extract it. Then double click the extracted Seas0nPass application to launch it.


Step Three
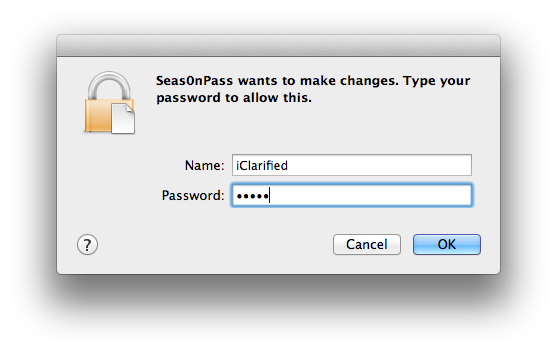
When prompted, input your administrative username and password then click the OK button.


Step Four
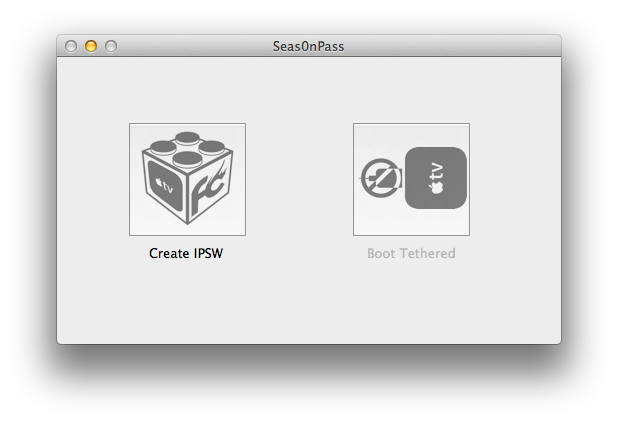
Hold down the Option key and click the Create IPSW button.


Step Five
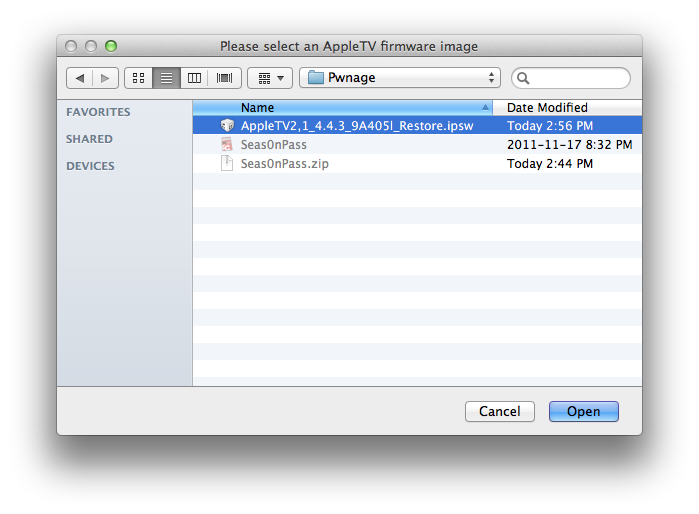
Select the Apple TV ipsw from the Pwnage folder on your desktop and click the Open button.


Step Six
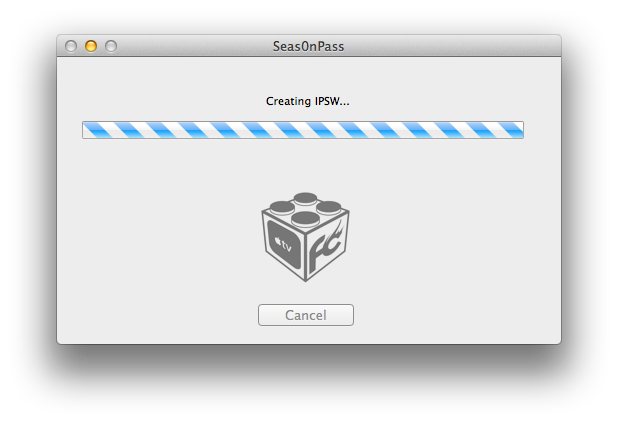
Seas0nPass will now prepare your custom IPSW.


Step Seven
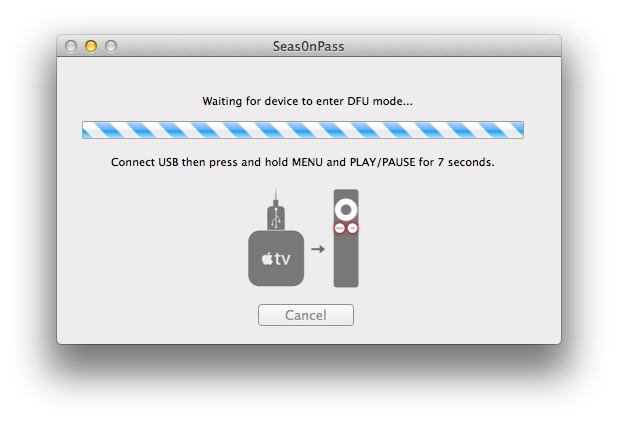
Once your custom IPSW file has been created, Seas0nPass will ask you to connect the Apple TV to your computer via a micro-USB cable and use the remote to put it into DFU mode by holding MENU and PLAY/PAUSE for 7 seconds. The power cable should be unplugged during this process. Immediately hold the buttons after inserting the USB cable.


Step Eight
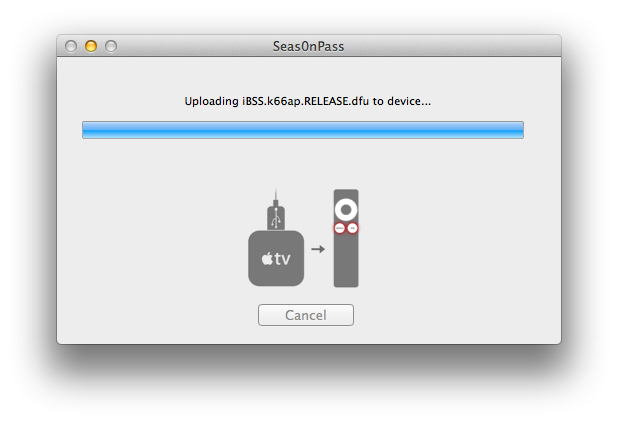
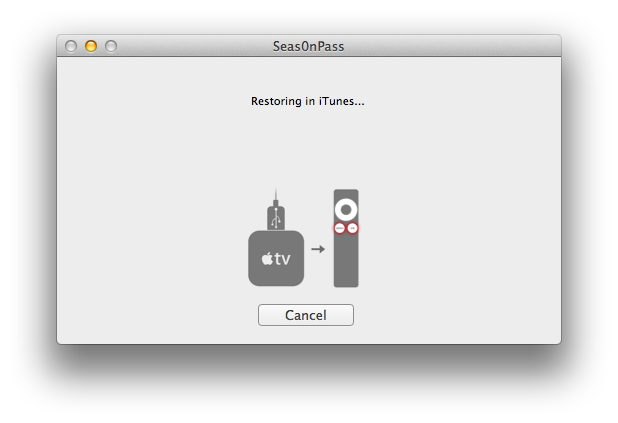
Once your Apple TV has been detected in DFU mode, Seas0nPass will upload some files, automatically launch iTunes, and beginning restoring to the new firmware.


BOOT TETHERED
To boot your Apple TV you will need to follow these instructions.

Step One
Launch Seas0nPass by double clicking its icon.


Step Two
Select Boot Tethered from the main menu.


Step Three
Connect the Apple TV to the computer via USB, plug it into the power outlet, and hold MENU and PLAY/PAUSE on the Apple TV remote for 7 seconds.


Step Four
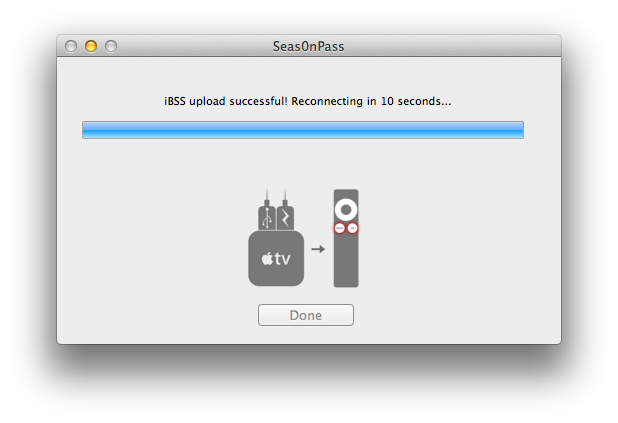
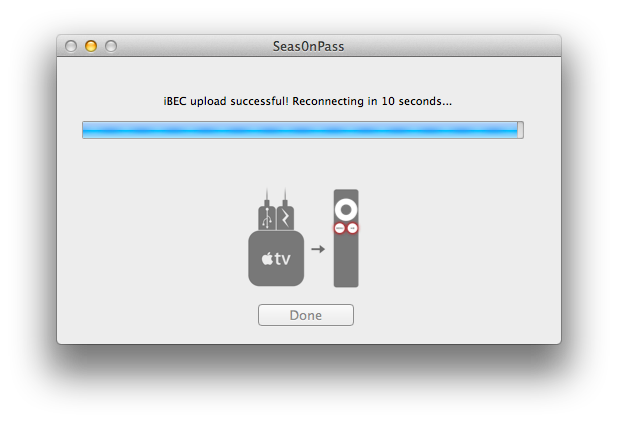
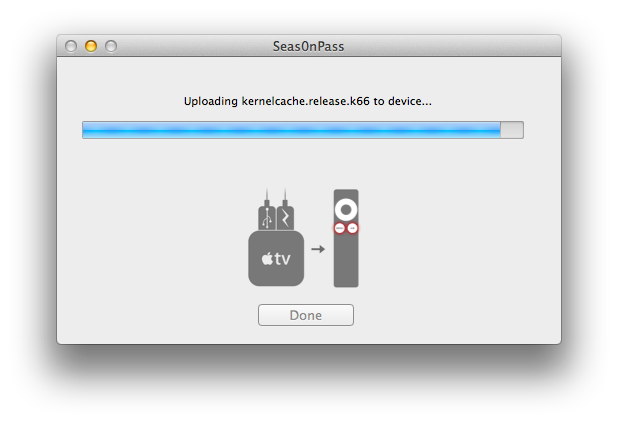
Seas0nPass will detect the device in DFU mode and begin the boot process.


Step Five
Once the tethered boot is complete you can remove the USB cable and connect the HDMI cable to begin using your jailbroken device!


Read More..